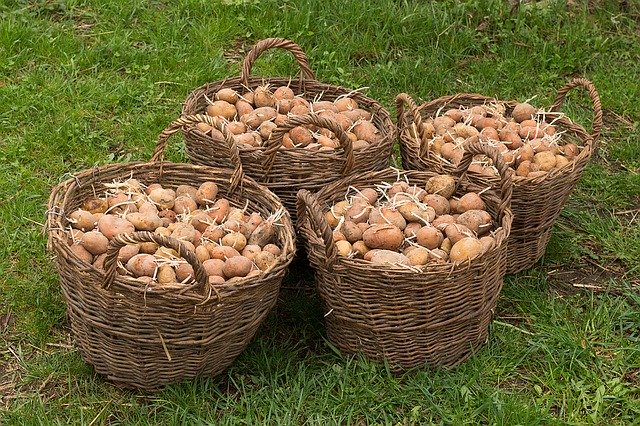
Homegrown potatoes are infinitely more tasty than most store bought varieties. So, this alone may change your mind into growing some of your own even if they are so cheap to buy.
If you grow your own and store them properly, potatoes can last for months, while still being fresher than those you bought at the store.
Here are some easy ways to do it:
1. 100 Pounds of potatoes in just four square feet
All you need for this technique is some lumber, seed potatoes, gardening soil, and of course, plenty of love and care. The guide for building it can be found here.

The recommended planting time is anywhere as early as April, and as late as August 1st, and it takes about three months before harvest.
2. Trash bag potatoes
One week before planting, place your seed potatoes in a warm spot. When sprouts that are about one-quarter-inch to one-half-inch form, they’re about ready to plant.

Cut large seed potatoes into chunks that are approximately two inches wide. Each piece should have at least two sprouts. After cutting the seed potatoes, allow them to sit at room temperature for three days.
Using a pair of scissors, cut a few drainage holes in the bottom of a 30-gallon plastic trash bag. Roll the sides of the bag down and fill it with about one-third potting soil.Place the trash bag in an area of your garden that gets full sun.
To plant your seed potatoes, first, dust them with agricultural sulfur to protect them against fungal disease. Plant them by burying them with the eyes pointed up about two inches deep in the soil. Water thoroughly.
When your potato plants are six to eight inches tall, add more soil and straw to the bag. There should be just enough soil so that the top few leaves are poking through it.
As they continue to grow, keep unrolling the trash bag and adding more soil accordingly. They should stay well watered, but not soggy.
Harvest – One clue that your potatoes are about ready for harvesting is that the leaves will yellow and the foliage will die back. At this point, you should stop watering and simply leave them alone for a few weeks so that the skins toughen up. To harvest, slit open the side of the bag and release the potatoes.
3. Commercial grow bags
You can also use commercial grow bags, which are made from heavy, dense polypropylene. While they are a little more expensive than trash bags, they typically last for several growing seasons.

Just place a few inches of a soil-compost mixture in the bottom of a bag, then plant four seed potato pieces. Cover them up with three inches of soil. Continue adding soil as the potato plants grow until the bag is completely filled.
To harvest, all you have to do is turn the bag on its side and dump out the contents. Considering the relatively small space, the yield is usually quite impressive.
4. Bucket potatoes
Use 5 to 10-gallon bucket. Five-gallon buckets are ideal, as you can easily start them growing indoors and then transport them back and forth between the outdoors and in, depending on the weather.

Supplies:
- A bucket (preferably a 5-gallon bucket)
- Small rocks or pebbles (aquarium pebbles work well)
- Potting soil
- A black trash bag
- Seed potatoes (you can buy some at your local home and garden center, or use potatoes you have if they’ve started to grow roots)
First, add the rocks or pebbles to the bottom of your bucket for drainage. Cover the bottom with about 1 to 2 inches to ensure proper drainage.
Fit your trash bag to the bucket by opening it up and placing it inside. You’ll need to cut it in order to achieve about a one-inch overhang. Using your scissors, make a cut to mark it and then lay the trash bag across the floor. Cut a straight line out of the bag and then put it back inside the bucket. Poke out about 20 drainage holes.
Add about 4 to 5 inches of potting soil to the bottom of your bucket, after the trash bag has been placed into it.
Then add your potatoes by placing three in the bucket on top of the soil, and then add about two inches of soil on top.
They need lots of water, so be sure to keep them well-watered, and it won’t be long before you’ve got a crop of potatoes. You may need to add more soil as they begin growing, so keep an eye on that too.
5. Potato tire tower

All you have to do is wash the tires thoroughly to remove any road grime first. It’s a great, eco-friendly way to re-purpose your old tires. If you have room for a car tire placed flat on the ground, you can grow four to five potato plants that produce lots of potatoes.
All you need is soil, seed potatoes, and tires. Take a look at this growing method here.
Source: www.naturallivingideas.com

